折腾 WSL 的记录 II
折腾 WSLg 以及图形界面
技术
技术
Linux
WSL
GUI
2026-03-24
WSLg(Windows Subsystem for Linux GUI)是微软推出的在 Windows 上运行 Linux GUI 应用的解决方案。目前 WSLg 仅兼容 WSL 2,配置为 WSL 1 模式的发行版无法使用图形界面功能。
进行以下操作前,我已经对发行版进行了备份。
安装并运行 GUI 应用
官方仓库的介绍中,使用了 Gedit 文本编辑器作为示范之一。先安装这个 GUI 应用:
sudo apt install gedit -y
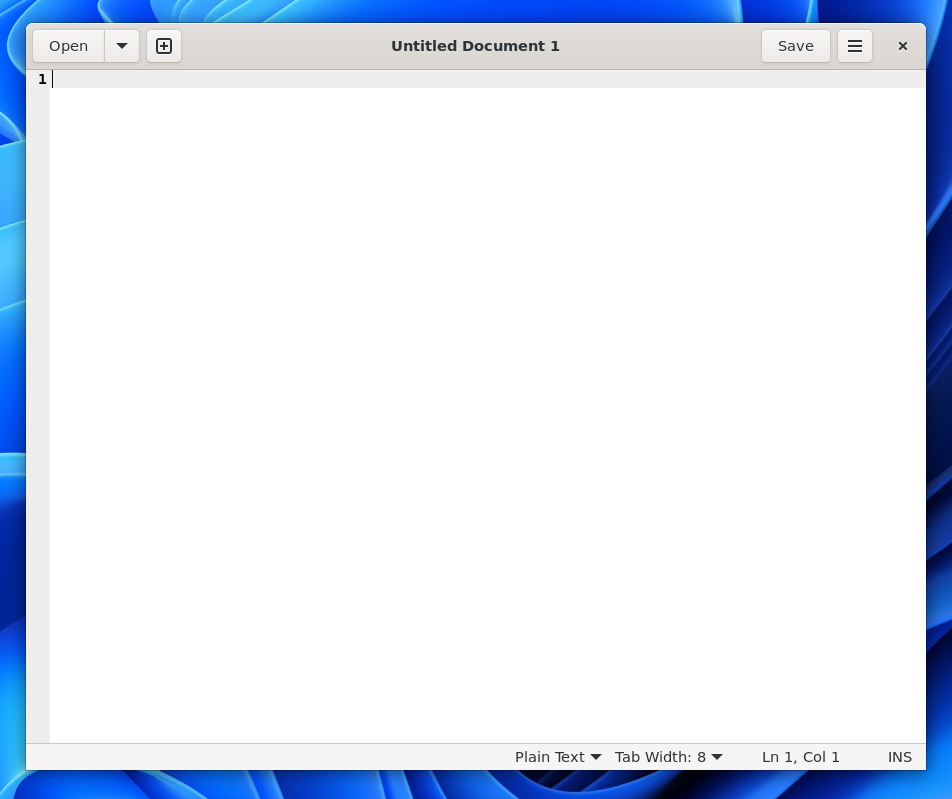
安装完成后,Windows 开始菜单就会出现它了:

你现在可以像 Windows 应用一样打开并使用它:
安装并运行完整的桌面环境
以下内容均来自这篇教程。
先检查 /etc/wsl.conf 路径的文件是不是有以下内容,如果没有就进行修改:
[boot]
systemd=true
然后安装桌面环境:
sudo apt install ubuntu-desktop xwayland
接着创建一个新的 systemd:
sudo systemctl edit --full --force wslg-fix.service
并将以下代码拷贝进编辑器中:
[Unit]
After=wslg.service

[Service]
Type=oneshot
ExecStart=-/usr/bin/umount /tmp/.X11-unix
ExecStart=/usr/bin/rm -rf /tmp/.X11-unix
ExecStart=/usr/bin/mkdir -m 1777 /tmp/.X11-unix
ExecStart=/usr/bin/ln -s /mnt/wslg/.X11-unix/X0 /tmp/.X11-unix/X0
ExecStart=/usr/bin/chmod 0666 /mnt/wslg/runtime-dir/wayland-0.lock

[Install]
WantedBy=multi-user.target
然后启用该服务:
sudo systemctl enable wslg-fix.service
接着:
sudo ln -s /dev/null /etc/systemd/user/wslg-session.service
sudo sed -i 's/gnome-session-binary/gnome-session-binary --disable-acceleration-check/' /usr/bin/gnome-session
sudo systemctl set-default multi-user.target
再创建一个脚本文件 /usr/bin/Xorg.Xwayland 并拷贝以下代码进去:
#!/bin/bash
for arg do
  shift
  case $arg in
    # Xwayland doesn't support vtxx argument. So we convert to ttyxx instead
    vt*)
      set -- "$@" "${arg//vt/tty}"
      ;;
    # -keeptty is not supported at all by Xwayland
    -keeptty)
      ;;
    # -novtswitch is not supported at all by Xwayland
    -novtswitch)
      ;;
    # other arguments are kept intact
    *)
      set -- "$@" "$arg"
      ;;
  esac
done

# Check if the runtime dir is present, and create it if not
if [ ! -d $HOME/runtime-dir ]
then
 mkdir $HOME/runtime-dir
 ln -s /mnt/wslg/runtime-dir/wayland-0 /mnt/wslg/runtime-dir/wayland-0.lock $HOME/runtime-dir/
fi

# Point the XDG_RUNTIME_DIR variable to $HOME/runtime-dir
export XDG_RUNTIME_DIR=$HOME/runtime-dir

# Find an available display number
for displayNumber in $(seq 1 100)
do
  [ ! -e /tmp/.X11-unix/X$displayNumber ] && break
done

# Here you can change or add options to fit your needs
command=("/usr/bin/Xwayland" ":${displayNumber}" "-geometry" "1920x1080" "-fullscreen" "$@")

systemd-cat -t /usr/bin/Xorg echo "Starting Xwayland:" "${command[@]}"

exec "${command[@]}"
接着执行:
sudo chmod 0755 /usr/bin/Xorg.Xwayland
sudo dpkg-divert --local --add --rename /usr/bin/Xorg
sudo update-alternatives --install /usr/bin/Xorg Xorg /usr/bin/Xorg.Xwayland 100
现在我们要对窗口进行配置。在 ~/.config/monitors.xml 路径下拷贝内容(这里采用了我笔记本的分辨率 2560*1600):
<monitors version="2">
  <configuration>
    <logicalmonitor>
      <x>0</x>
      <y>0</y>
      <scale>1</scale>
      <primary>yes</primary>
      <monitor>
        <monitorspec>
          <connector>XWAYLAND0</connector>
          <vendor>unknown</vendor>
          <product>unknown</product>
          <serial>unknown</serial>
        </monitorspec>
        <mode>
          <width>2560</width>
          <height>1600</height>
          <rate>59.963</rate>
        </mode>
      </monitor>
    </logicalmonitor>
  </configuration>
</monitors>
再把这个文件复制到 GDM 根目录下:
sudo cp ~/.config/monitors.xml /var/lib/gdm3/.config/
最后再设置正确的权限:
sudo chown -R gdm:gdm /var/lib/gdm3/.config/
做完以上这些,就重启 WSL。再打开时运行下面的命令:
sudo systemctl start graphical.target
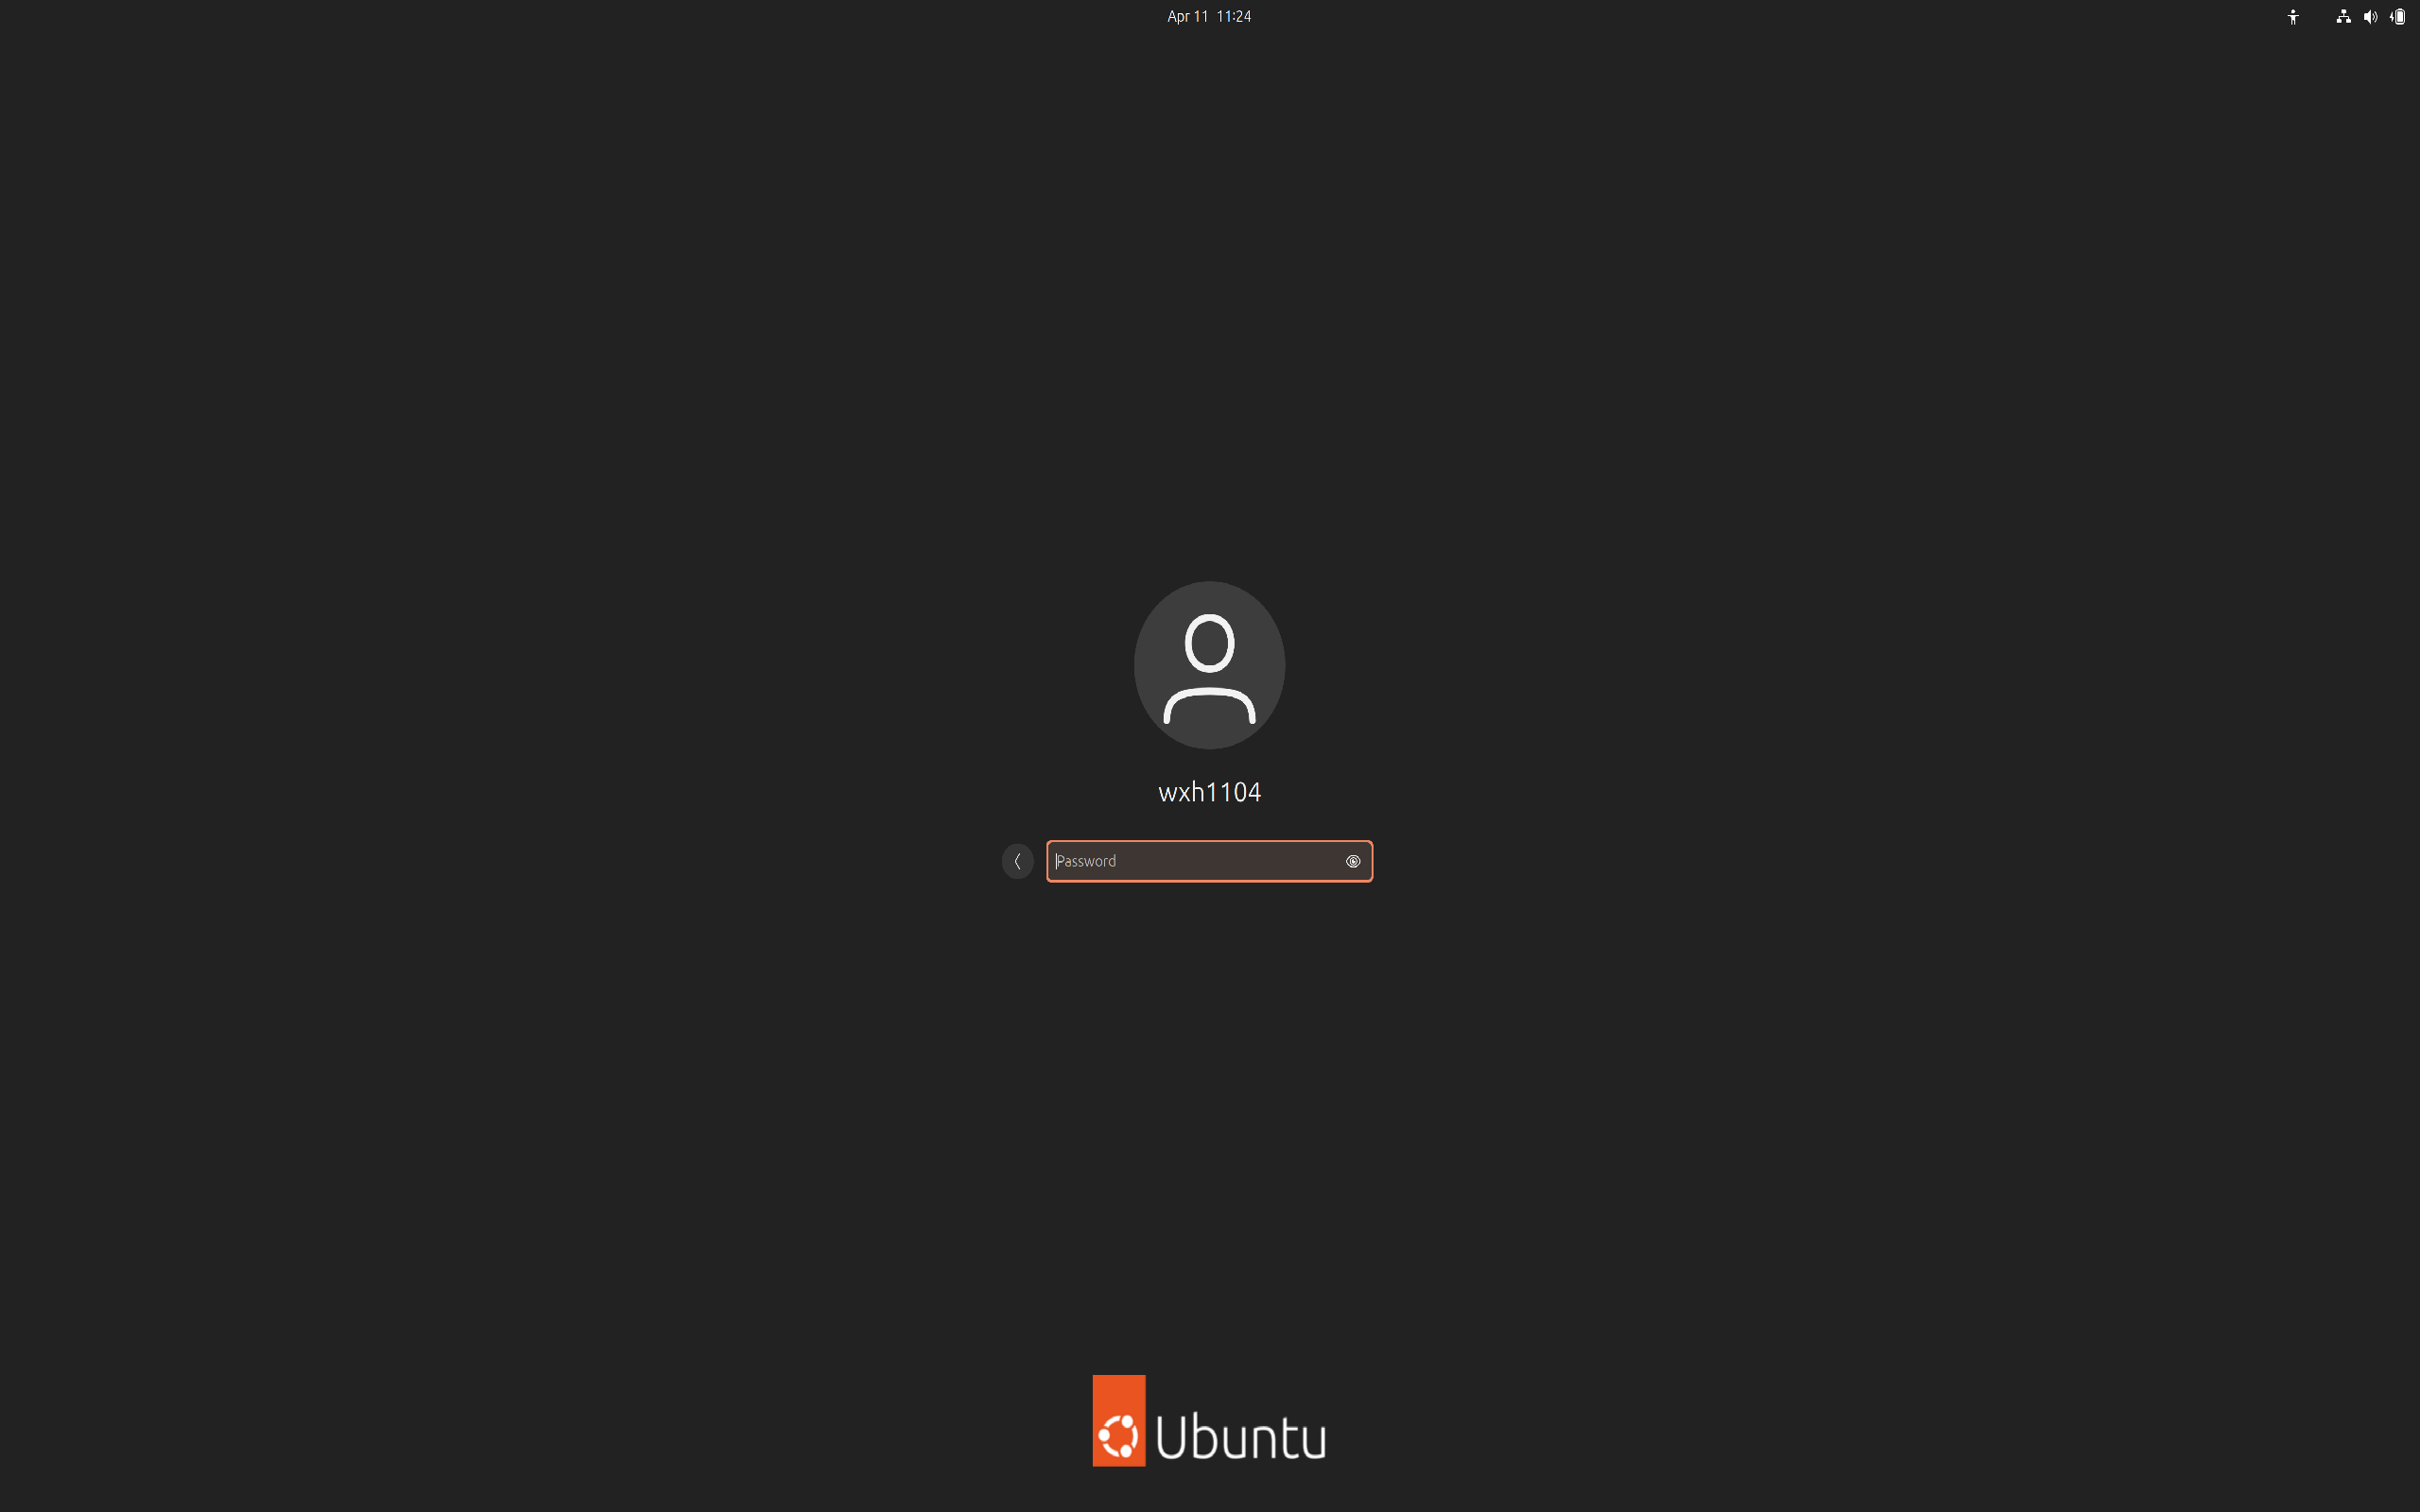
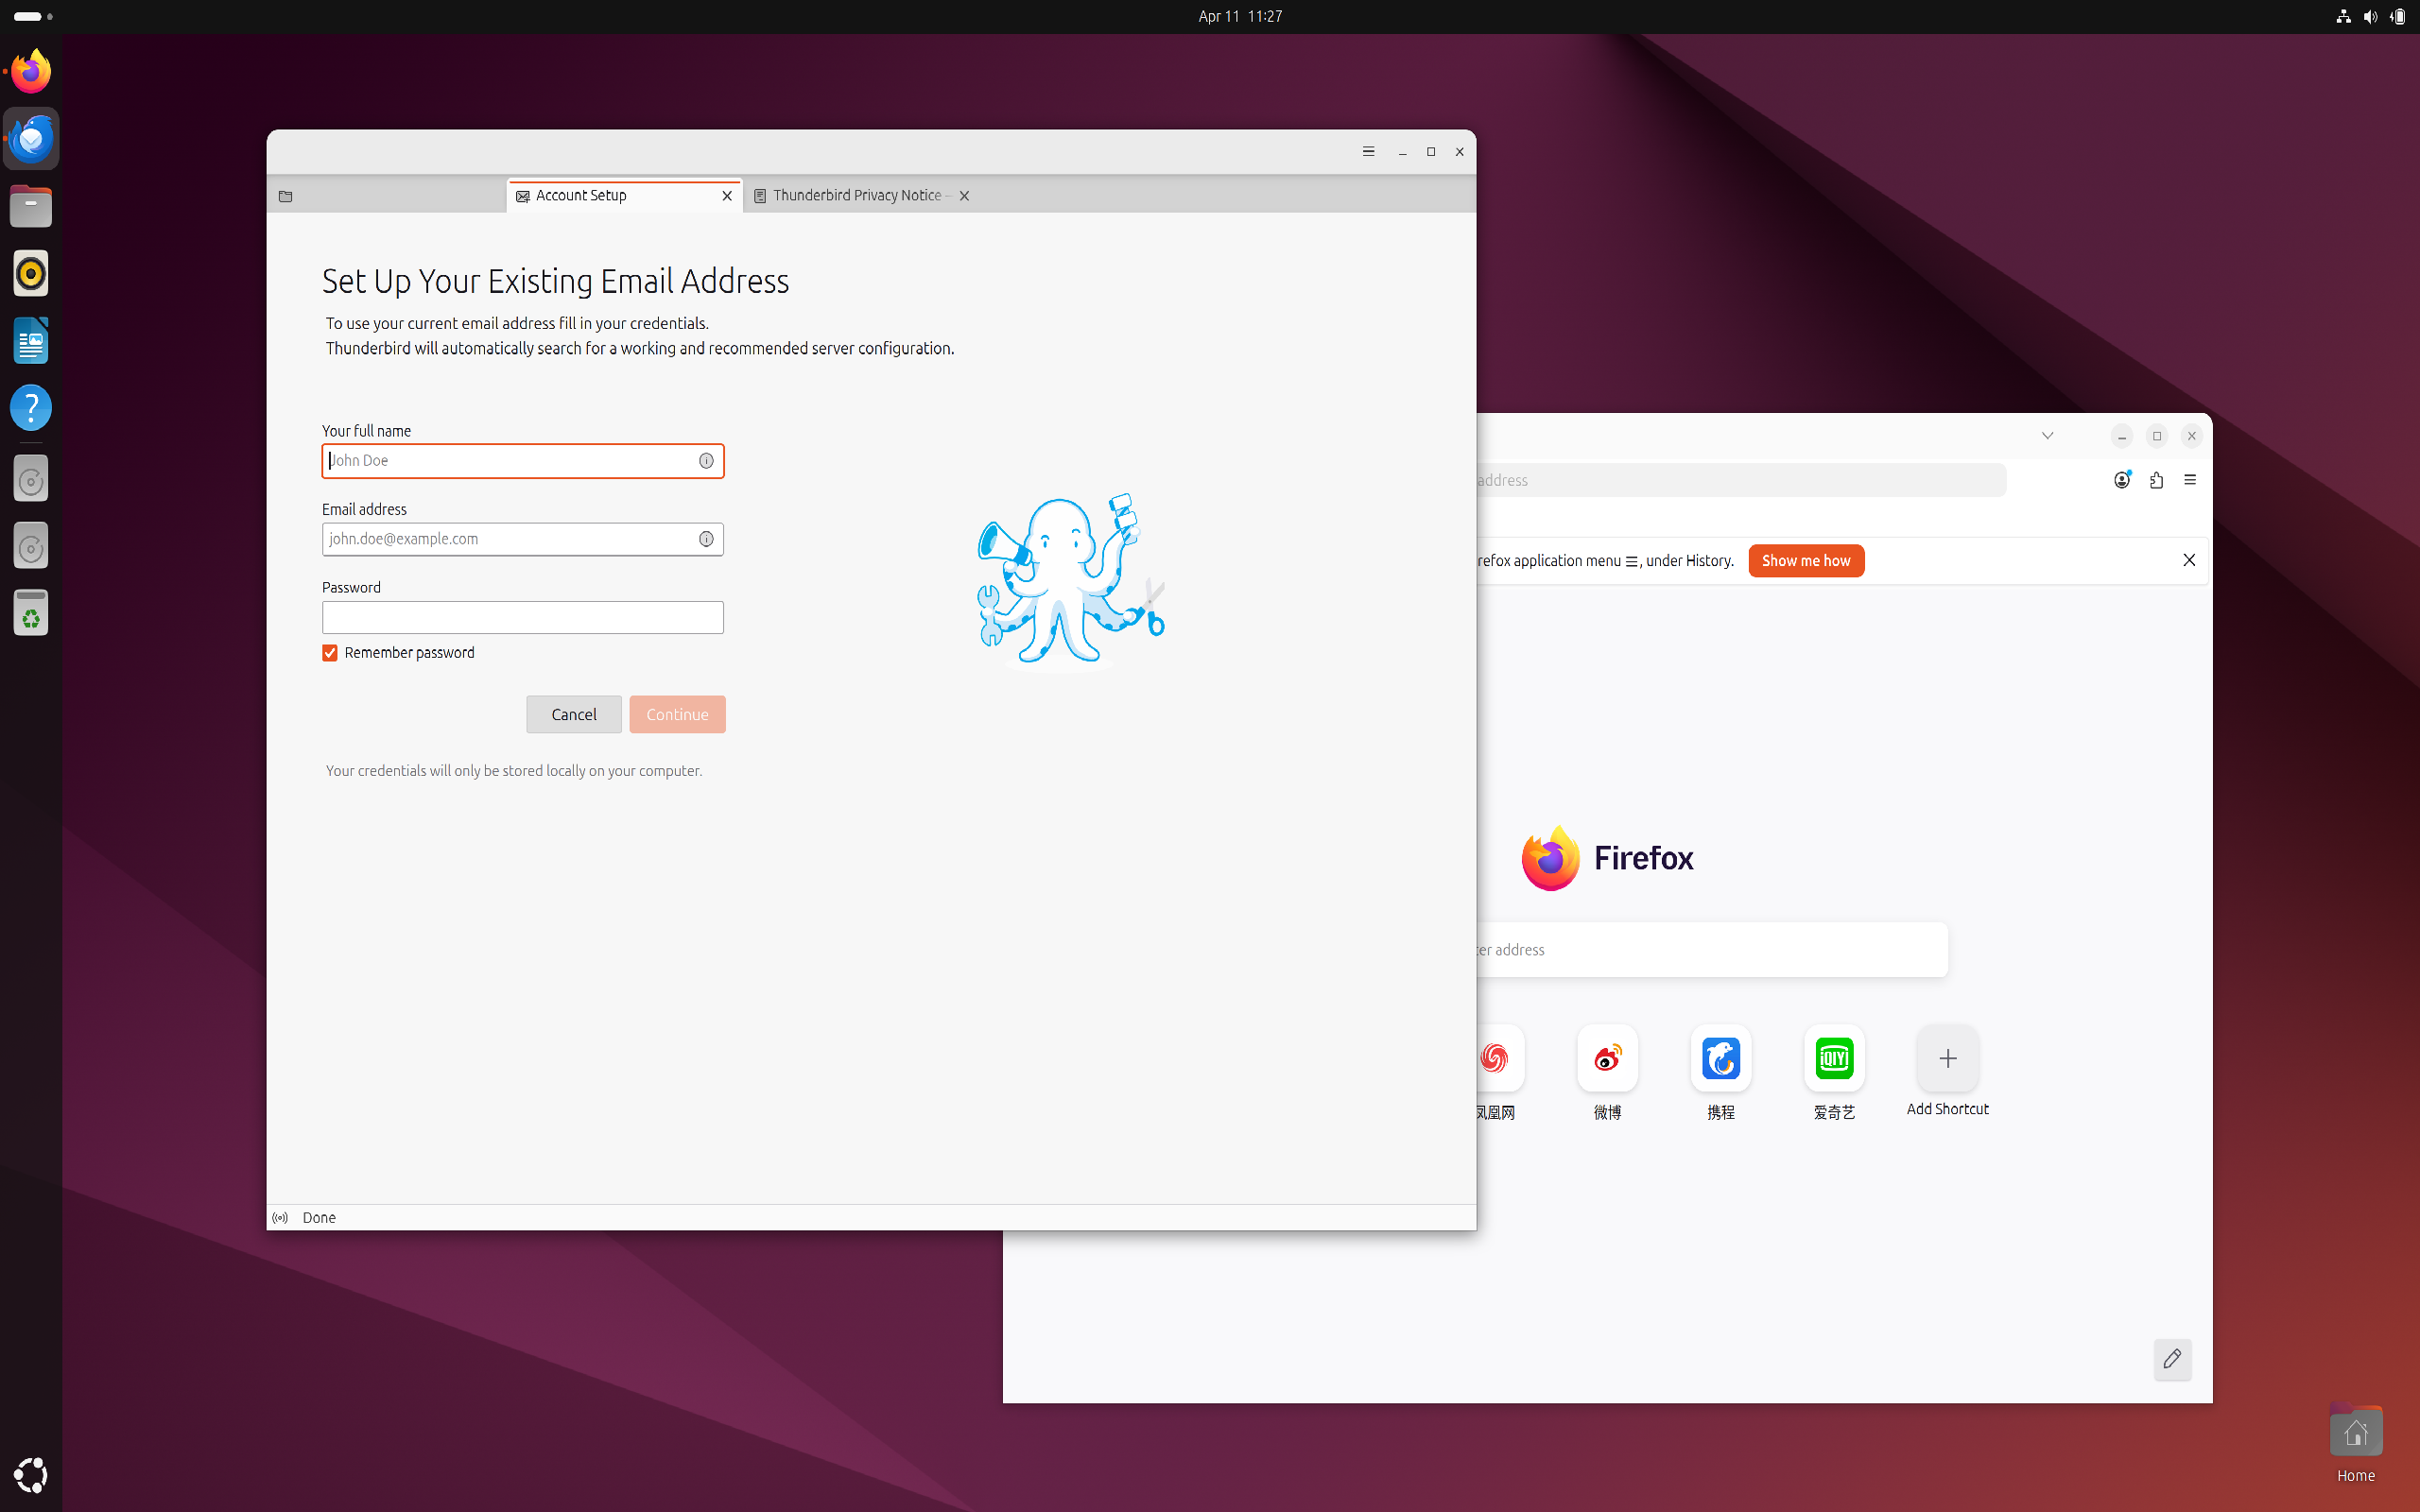
等待一小会儿,突然屏幕一黑。大功告成: